In this post, I am showing you how to configure oracle
ASM instance Using oracle 11g r2 grid infrastructure ( ASMLIB* Packages)? Before I start configuration, let you know what kind infrastructure I have?.
-
RHEL 5.4
-
Oracle grid s/w 11g r2 (p10098816_112020_Linux-x86-64_3of7)
Requirement:-
For this installation we want ASMlib packages which I mentioned below.
-
oracleasm-support-2.1.7-1.el5.x86_64.rpm
-
oracleasm-2.6.18-164.el5-2.0.5-1.el5.x86_64.rpm
-
oracleasmlib-2.0.4-1.el5.x86_64.rpm
- oracleasm-2.6.18-164.el5-debuginfo-2.0.5-1.el5.x86_64.rpm
-
oracleasm-2.6.18-308.1.1.el5-2.0.5-1.el5.x86_64.rpm
Raw devices as per requirement in this installation I used three raw
devices, per device size is 4 GB (for this raw devices you can ask to your
system administrator)
-
/dev/sda5
-
/dev/sda6
-
/dev/sda7
1) First create
raw devices as per requirement in this installation I used 3 raw devices.
- /dev/sda5,
/dev/sda6, /dev/sda7
2) Install Asmlib*
packages
[root@alpha Asmlib-New-Package-64-Bit]# rpm -ivh
oracleasm-support-2.1.7-1.el5.x86_64.rpm
1:oracleasm-support
########################################### [100%]
[root@alpha Asmlib-New-Package-64-Bit]# rpm -ivh
oracleasm-2.6.18-164.el5-2.0.5-1.el5.x86_64.rpm
1:oracleasm-2.6.18-164.el###########################################
[100%]
[root@alpha Asmlib-New-Package-64-Bit]# rpm -ivh
oracleasmlib-2.0.4-1.el5.x86_64.rpm
1:oracleasmlib
########################################### [100%]
[root@alpha Asmlib-New-Package-64-Bit]# rpm -ivh
oracleasm-2.6.18-164.el5-debuginfo-2.0.5-1.el5.x86_64.rpm
1:oracleasm-2.6.18-164.el###########################################
[100%]
[root@alpha Asmlib-New-Package-64-Bit]# rpm -ivh
oracleasm-2.6.18-308.1.1.el5-2.0.5-1.el5.x86_64.rpm
1:oracleasm-2.6.18-308.1.###########################################
[100%]
3) Configure
Oracle Asm
[root@clone ~]#
oracleasm configure -i
Configuring the Oracle ASM library driver.
This will configure the on-boot properties of the Oracle
ASM library
driver. The
following questions will determine whether the driver is
loaded on boot and what permissions it will have. The current values
will be shown in brackets ('[]'). Hitting <ENTER> without typing an
answer will keep that current value. Ctrl-C will abort.
Default user to own the driver interface []: grid
Default group to own the driver interface []: asmdba
Start Oracle ASM library driver on boot (y/n) [n]: y
Scan for Oracle ASM disks on boot (y/n) [y]: y
Writing Oracle ASM library driver configuration: done
Note: - in
this installation I used grid user for ASM instance.
[root@clone
sysconfig]# oracleasm init
Creating /dev/oracleasm mount point: /dev/oracleasm
Loading module "oracleasm": oracleasm
Mounting ASMlib driver filesystem: /dev/oracleasm
4) Create Asm
disk.
[root@clone sysconfig]# oracleasm createdisk
Vol1 /dev/sda5
Writing disk header: done
Instantiating disk: done
[root@clone sysconfig]# oracleasm createdisk
Vol2 /dev/sda6
Writing disk header: done
Instantiating disk: done
[root@clone sysconfig]# oracleasm createdisk Vol3 /dev/sda7
Writing disk header: done
Instantiating disk: done
[root@clone sysconfig]# Oracleasm scandisks
Reloading disk partitions: done
Cleaning any stale ASM disks...
Scanning system for ASM disks...
[root@clone sysconfig]# oracleasm listdisks
VOL1
VOL2
VOL3
[grid@clone ~]$ xhost +
access control disabled, clients can connect from any
host
[grid@clone ~]$ ll
total 834988
-rw-r--r-- 1 grid oinstall 854185065 Mar 1 2013
p10098816_112020_Linux-x86-64_3of7.zip
[grid@clone ~]$ unzip -q
p10098816_112020_Linux-x86-64_3of7.zip
[grid@clone
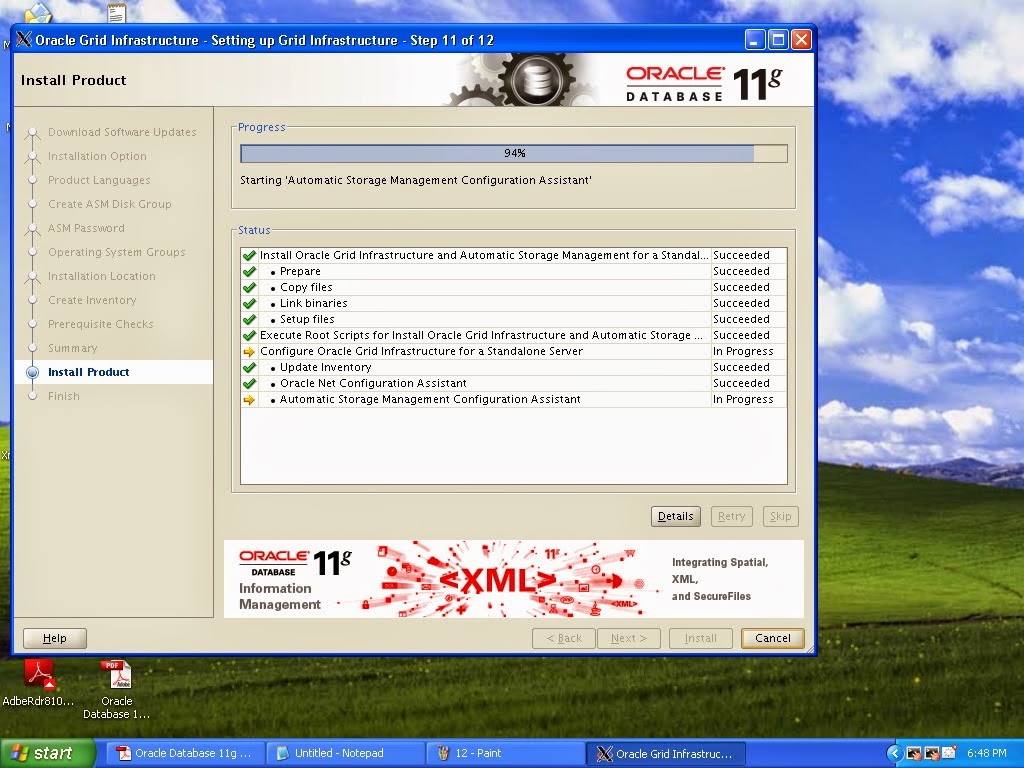
~]$ ./RunInstaller
Note:- DATA is ASM Disk Name.
Note: - Here
ASM Password showing in red colors because my password is not as per oracle
recommended format.
[root@clone /]#
/u01/app/oraInventory/orainstRoot.sh
Changing permissions of /u01/app/oraInventory.
Adding read,write permissions for group.
Removing read,write,execute permissions for world.
Changing groupname of /u01/app/oraInventory to oinstall.
The execution of the script is complete.
[root@clone ~]#
/u01/app/grid/product/11.2.0/grid/root.sh
Running Oracle 11g root script...
The following environment variables are set as:
ORACLE_OWNER=
grid
ORACLE_HOME=
/u01/app/grid/product/11.2.0/grid
Enter the full pathname of the local bin directory:
[/usr/local/bin]:
Copying dbhome
to /usr/local/bin ...
Copying oraenv
to /usr/local/bin ...
Copying coraenv
to /usr/local/bin ...
Creating /etc/oratab file...
Entries will be added to the /etc/oratab file as needed
by
Database Configuration Assistant when a database is
created
Finished running generic part of root script.
Now product-specific root actions will be performed.
Using configuration parameter file:
/u01/app/grid/product/11.2.0/grid/crs/install/crsconfig_params
Creating trace directory
LOCAL ADD MODE
Creating OCR keys for user 'grid', privgrp 'oinstall'..
Operation successful.
LOCAL ONLY MODE
Successfully accumulated necessary OCR keys.
Creating OCR keys for user 'root', privgrp 'root'..
Operation successful.
CRS-4664: Node clone successfully pinned.
Adding daemon to inittab
ACFS-9300: ADVM/ACFS distribution files found.
ACFS-9307: Installing requested ADVM/ACFS software.
ACFS-9308: Loading installed ADVM/ACFS drivers.
ACFS-9321: Creating udev for ADVM/ACFS.
ACFS-9323: Creating module dependencies - this may take
some time.
ACFS-9327: Verifying ADVM/ACFS devices.
ACFS-9309: ADVM/ACFS installation correctness verified.
clone
2014/07/07 00:16:50
/u01/app/grid/product/11.2.0/grid/cdata/clone/backup_20140707_001650.olr
Successfully configured Oracle Grid Infrastructure for a
Standalone Server
Note:- For oracle gurus if I did any mistake in this post please let me know i will modify the blogs
Thanks


